
*This post may contain affiliate links. As an Amazon Associate we earn from qualifying purchases.
Scuba diving is a thrilling experience, allowing you to explore a world of wonders beneath the surface. In order to experience all that this aquatic adventure has to offer, it’s important for your equipment to be in perfect working order. That’s why proper scuba regulator repair is essential.
Like any machine, regulators can experience mechanical failure and need maintenance from time to time. With the right information and tools, however, you can easily troubleshoot any issue and get back underwater in no time.
So don’t let malfunctioning equipment keep you from discovering the beauty of the deep blue sea! Get ready for an adventure as we dive into scuba regulator repair.
Check out my article about scuba gear maintenance.
Diagnosing Common Regulator Problems
Evaluating the root cause of issues can be key to successful maintenance, and this is especially true when it comes to scuba regulator repair.
When a scuba diving enthusiast encounters an issue with their regulator, they may feel overwhelmed and unsure of what to do next. However, with some knowledge and preventative maintenance, many common problems can be easily diagnosed and fixed.
Regularly storing regulators in a dry place is essential for preventing buildup that could cause potential damage over time. Cleaning rubber components with fresh water after each dive can also help protect against corrosion, which is one of the most common problems experienced by divers. Read my article about cleaning scuba gear with vinegar.
Additionally, regular checkups from a certified technician are important in order to identify any areas that need further attention or replacement parts. These steps are often all that’s needed for keeping your regulator running smoothly for years to come.
But if you find yourself needing assistance from a professional repair service, make sure they’re experienced in repairing your specific model before allowing them to work on it. With these tips in mind, you should have no problem diagnosing common regulator problems and ensuring your equipment remains safe for use during every dive!
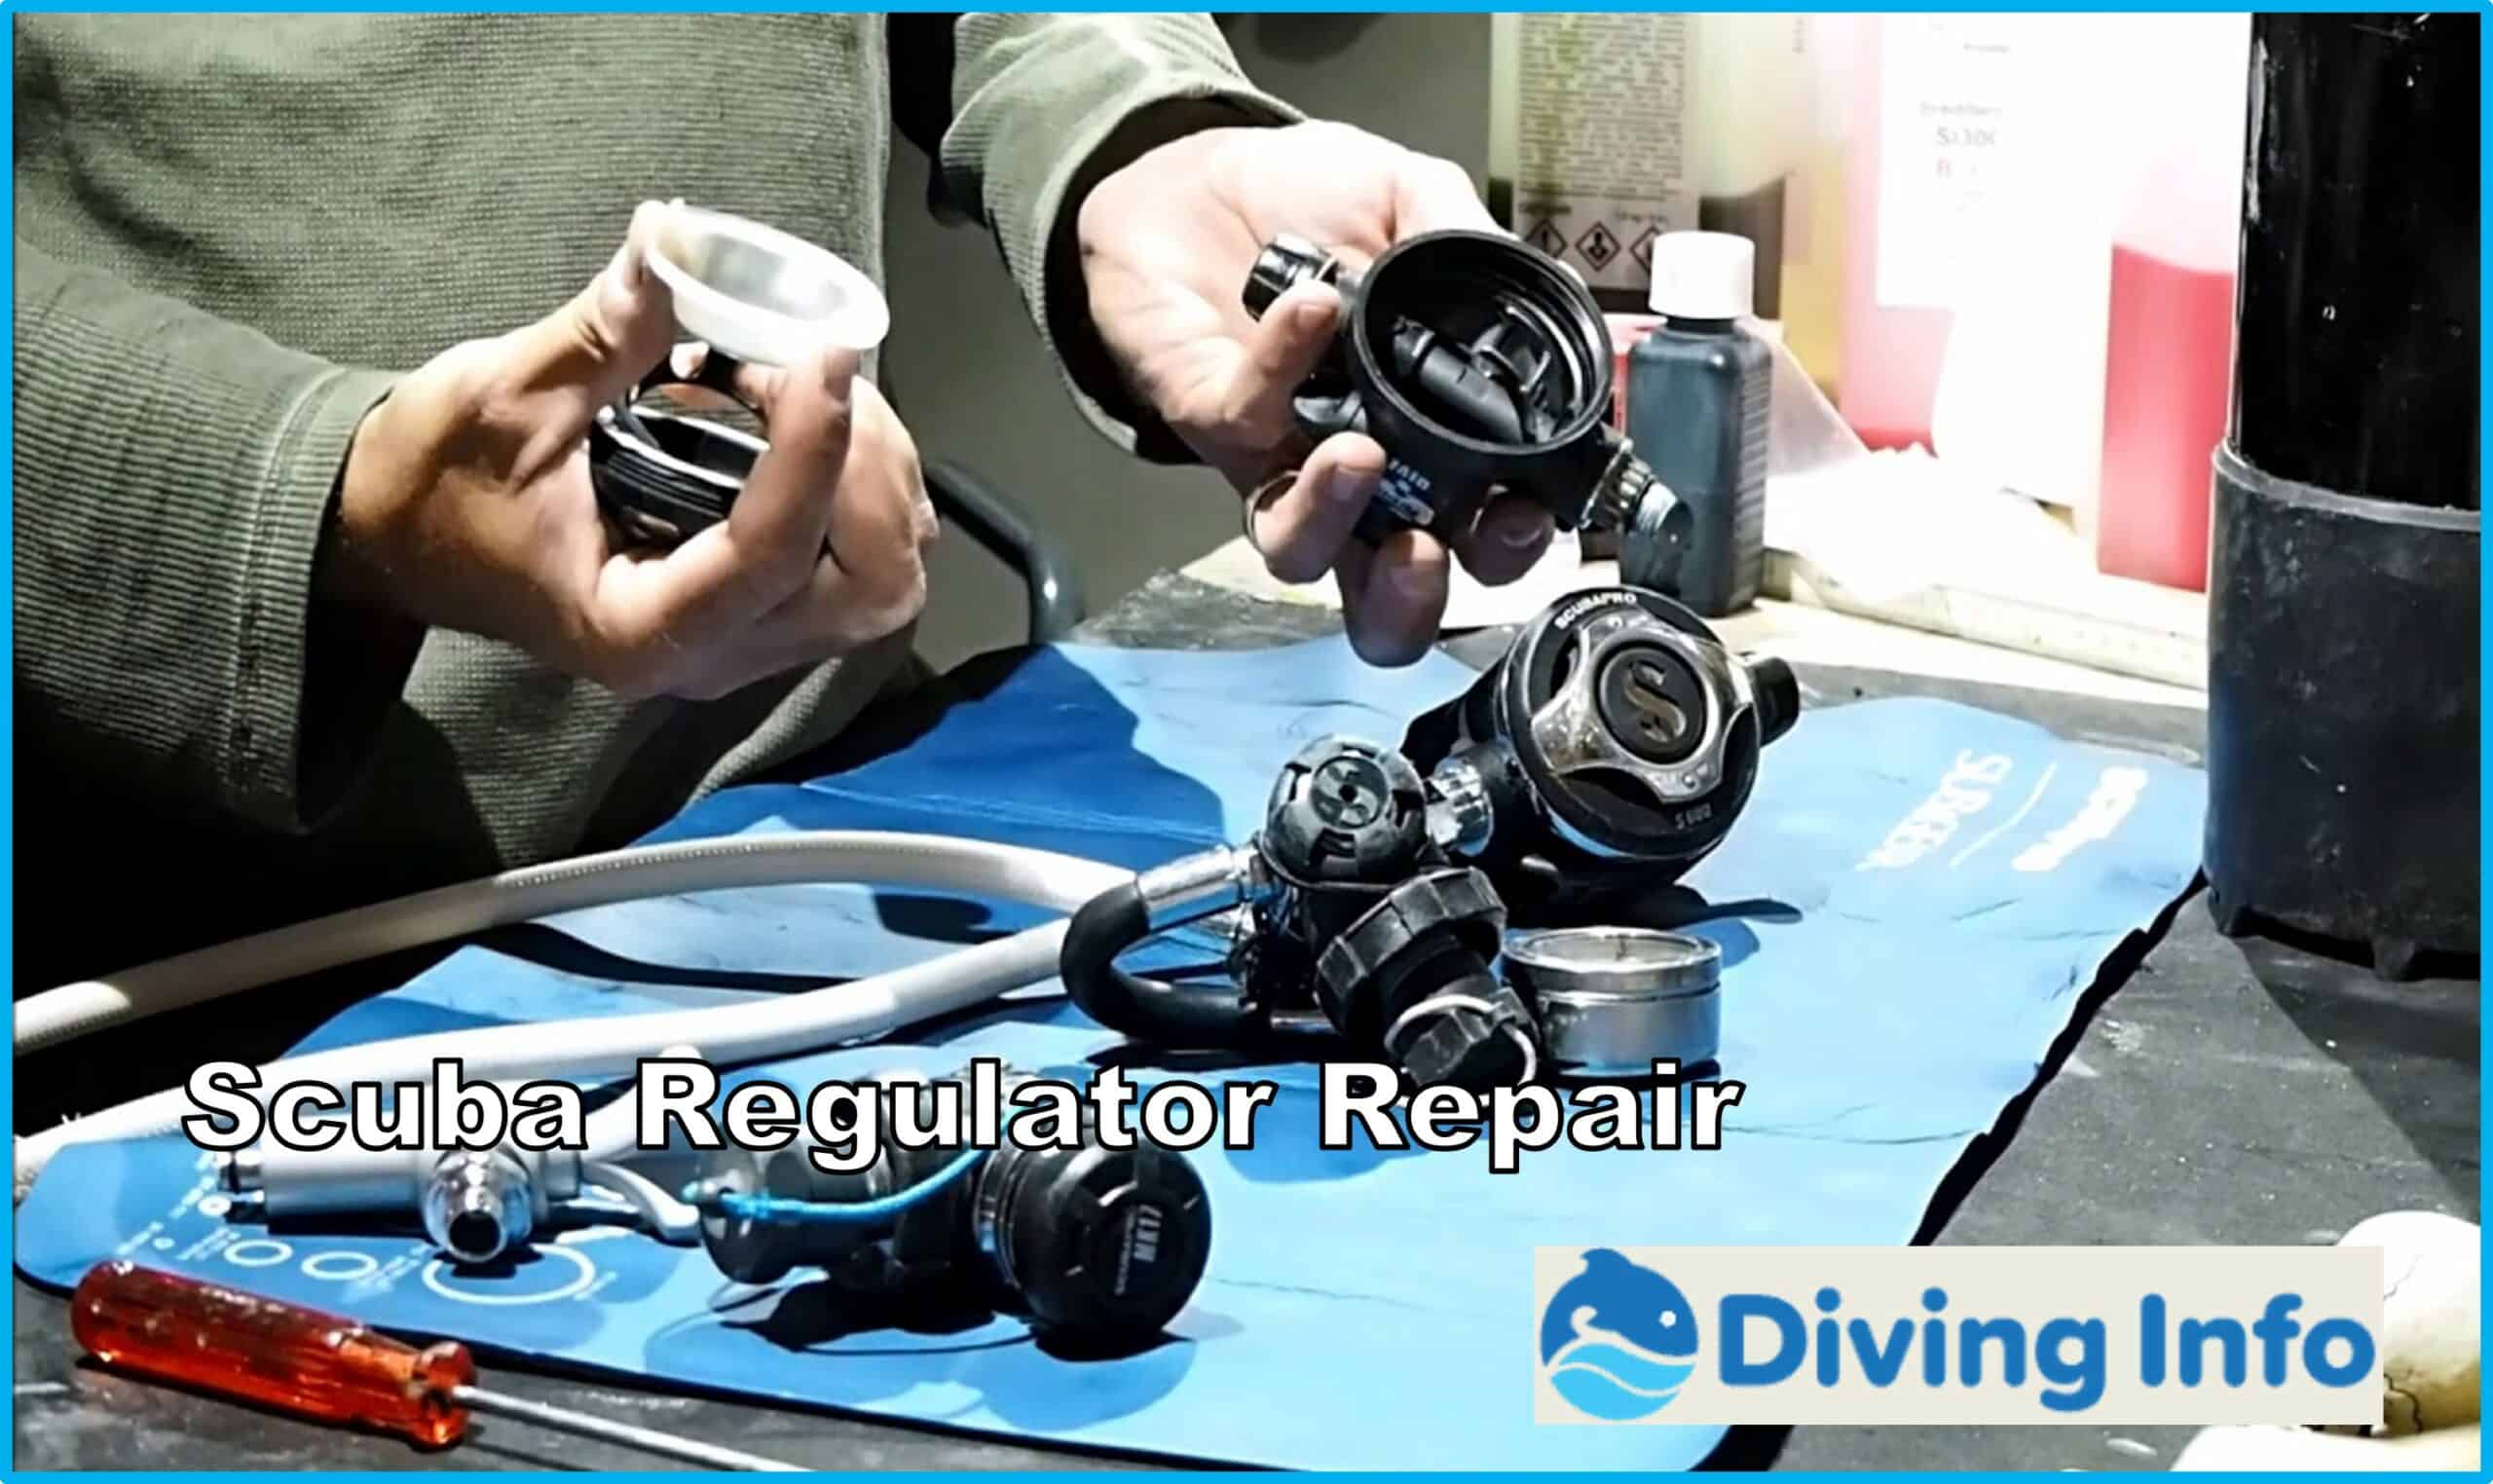
Disassembling the Regulator
You’re about to take a deep dive into disassembling the regulator – let’s get started! Disassembling the regulator is a crucial part of preventive maintenance. It takes some skill and knowledge, so if you don’t feel confident in your abilities, it might be best to seek out the help of an experienced professional. If you decide to tackle it yourself, make sure to keep track of all parts and pieces and store them in a safe place during the process.
The first step is to identify what type of regulator you’re working with. Each type has its own unique set of components that must be taken into consideration when disassembling. Next, familiarize yourself with any manufacturer-specific instructions for this particular model or brand. They provide important information on how best to take apart your regulator safely.
After following these steps, you can begin taking the regulator apart piece by piece. It’s essential that during this whole process, you use quality tools and supplies specifically designed for servicing regulators – not just whatever happens to be lying around your workshop! Taking time for preventive maintenance can save you from costly repairs down the road, so use these maintenance tips and pay attention even when dealing with small details like O-rings or washers.
Doing so will ensure that your regulator stays in top condition for years to come!
Troubleshooting the Regulator
After disassembling your regulator, it’s time to troubleshoot any potential problems that may have arisen from the process. The best way to do this is with preventive maintenance and pressure testing.
When you perform a preventive maintenance check on your regulator, it allows you to detect any issues before they become major problems. Inspecting the o-rings and other parts of the regulator can help identify worn or damaged components that need replacing. Pressure testing allows you to check for air leaks in order to seal up any broken connections. This helps ensure that all of the parts are working properly and securely connected.
In addition, if possible, use a test tank filled with water to simulate real diving conditions. This will help you spot any potential problems that would otherwise be difficult or impossible to identify while on land. Also consider conducting an airflow test by attaching a standard flow meter to measure how much air is being pushed through the second stage valve when fully open. If there’s not enough air flowing through, it could indicate a problem somewhere in the system such as blockages or obstructions in the hose or first stage valve assembly.
If everything appears normal after your tests, then reassemble your regulator according to its manual instructions and make sure all connections are secure before taking it out for a dive! Be sure to check it periodically during dives for signs of damage or wear so you can take necessary corrective action if needed.
Replacing Worn Parts
Once you’ve identified any worn parts, it’s time to replace them so you can get back underwater in no time – but be sure to take precautionary measures against future wear and tear!
Start with the seals; cleaning them thoroughly will help ensure they last longer. Inspect the hoses as well for any signs of damage and replace them if necessary. When replacing a hose, use a lubricant on the threads to prevent sticking or breakage.
Make sure all connections are tight, but not too tight or else you may put undue strain on the regulator components and cause more problems down the road. Cleaning connection points is also important; dirt can build up over time and create obstructions that limit proper air flow.
Protecting your gear from saltwater corrosion should also be part of your routine maintenance process. Use an aerosol-based rust inhibitor spray to keep metal surfaces safe from damage due to prolonged exposure.
Additionally, rinse off all your gear after each dive trip before storing it away in a dry place until next time!
Reassembling the Regulator
Now that you’ve replaced any worn parts, it’s time to get your gear back together and ready for the next dive! Reassembling a scuba regulator is a process that requires some attention to detail. It may take a bit of time, but the satisfaction of completing the job yourself – with proper DIY maintenance – will be well worth it.
When reassembling your regulator, there are several key steps you should follow:
- Ensure all parts are properly lubricated and sealed;
- Make sure all hoses and connections have been tightened appropriately;
- Check for air leakage at each connection point;
- Carefully inspect all O-rings for signs of wear or damage; and
- Once everything is in place, ensure that all equipment checks out properly before using it.
Reassembling your scuba regulator can seem daunting at first, but once you’ve familiarized yourself with the procedure, you’ll become much more comfortable with performing necessary DIY maintenance on your own. By following these steps carefully, you’ll be able to enjoy diving confidently, knowing that your gear has been thoroughly checked and repaired.
Final Take
Now you’ve done it! You’ve successfully completed the repair of your scuba regulator. All the wear and tear that was once causing problems has been replaced with new parts, and your regulator is back in action.
It’s a symbol of all the hard work you put into this project–the countless hours spent diagnosing, troubleshooting, and replacing each part. There’s a sense of accomplishment to be felt every time you take that first dive with a restored piece of equipment.
The journey may have been challenging, but now that it’s complete, you can look forward to many more underwater adventures with confidence knowing that your regulator will keep performing at its best!